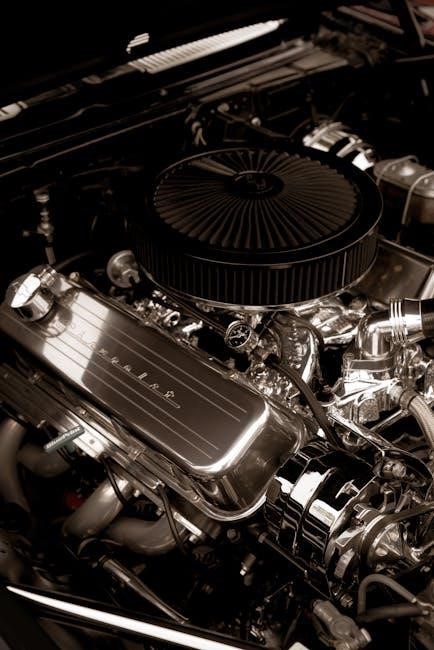
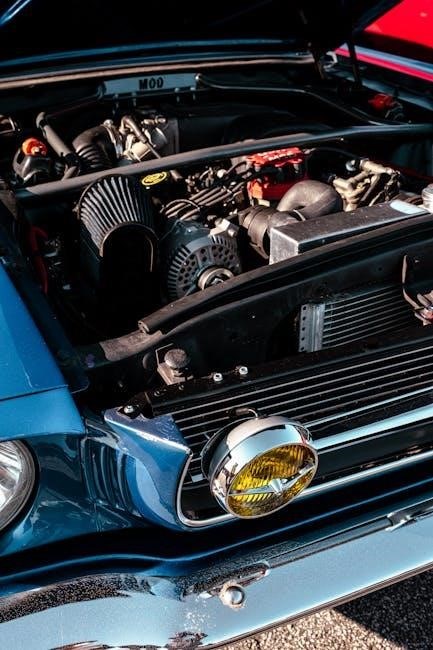
The 4L60E swap is a popular modification, offering overdrive capability and reliability for various vehicles, debuting in the 1990s with GM platforms.
What is a 4L60E Transmission?
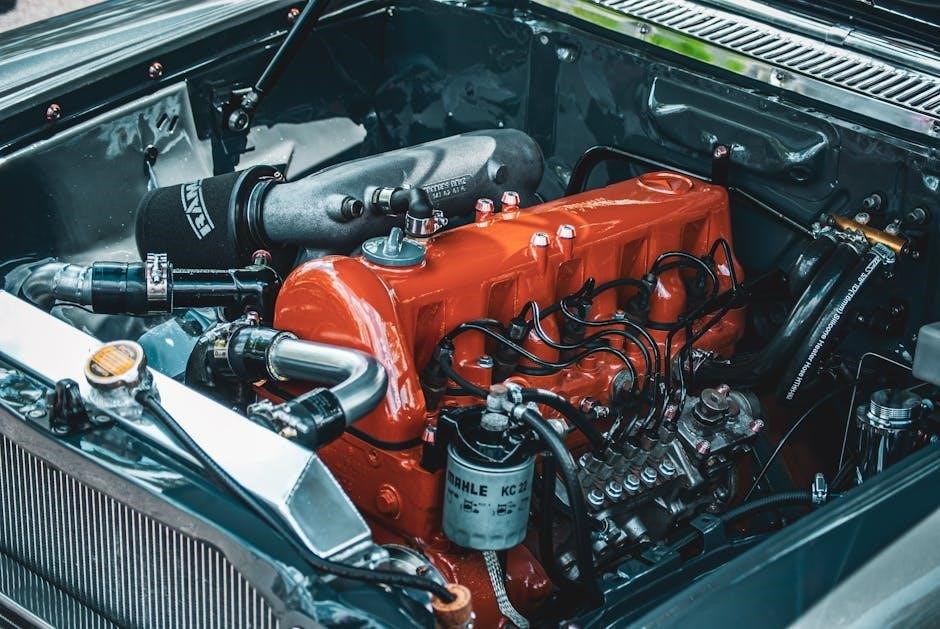
The 4L60E is a four-speed automatic transmission developed by General Motors, initially appearing in 1990s vehicles. The “4L” signifies it’s a four-speed, longitudinally mounted transmission, while the “60E” denotes its torque capacity – capable of handling up to 600 lb-ft of torque, though real-world limits often vary. It’s electronically controlled, hence the “E,” offering precise shift points and adaptability.
Compared to its predecessor, the 700R4, the 4L60E boasts improved efficiency and smoother operation due to its electronic control system. It’s known for its relatively compact size and widespread use in trucks, SUVs, and performance cars. However, it has a reputation for potential reliability issues, particularly under heavy stress, leading many to seek rebuilds or upgrades when performing a swap. Understanding these characteristics is crucial before embarking on a 4L60E swap project.
Why Swap to a 4L60E?
Swapping to a 4L60E transmission offers several compelling advantages, particularly for classic or older vehicles originally equipped with less efficient transmissions. The primary benefit is the addition of a fourth overdrive gear, significantly improving highway fuel economy and reducing engine RPMs at cruising speeds. This translates to a more comfortable and efficient driving experience on long journeys.
Furthermore, the 4L60E’s electronic control allows for customizable shift patterns, enhancing performance and drivability. It’s a relatively straightforward swap for many GM vehicles and even popular in non-GM applications like Ford and Mopar builds. The 4L60E is also readily available, with numerous new, used, and rebuilt options, making it a cost-effective upgrade. For those seeking a blend of modern convenience and classic style, the 4L60E presents an excellent solution.
Planning Your 4L60E Swap
Careful planning is crucial for a successful 4L60E swap, encompassing vehicle compatibility checks, detailed budgeting, and sourcing the correct components for installation.
Vehicle Compatibility
Determining vehicle compatibility is the first step in a successful 4L60E swap. While incredibly versatile, the 4L60E doesn’t simply bolt into every vehicle. A-body platforms, like the 1978 Malibu, are frequently chosen for this swap due to relative simplicity. However, older vehicles, or those not originally equipped with an electronically controlled transmission, require more extensive modifications.
Consider the existing transmission tunnel; modifications may be needed for proper clearance. The engine management system also plays a vital role – a system capable of controlling the 4L60E is essential; Vehicles like the 1997 Chevy Suburban, already possessing a modern engine and computer, present fewer hurdles. Thorough research specific to your vehicle is paramount before committing to the swap, ensuring a smoother and less frustrating process. Ignoring compatibility issues leads to costly rework and potential failure.
Budgeting for the Swap (Estimated Costs)
Accurately budgeting is crucial for a 4L60E swap, as costs can quickly escalate. For a common A-body swap, expect to allocate between $3,800 and $4,500. This figure is a baseline and can vary significantly based on component choices – new versus used, rebuilt versus crate transmission. A new transmission will naturally command a higher price point.
Don’t forget to factor in supporting modifications: a torque converter ($300-$800), crossmember and mounts ($200-$500), driveshaft alterations ($150-$400), and cooling line setup ($100-$300). The Transmission Control Module (TCM) and wiring harness integration add another $300-$700. Unexpected expenses always arise, so adding a 10-15% contingency fund is wise. Prioritizing quality components upfront can save money on repairs down the line, ensuring a reliable and enjoyable driving experience.
Parts Required for the 4L60E Swap
Essential components include the transmission itself, a torque converter, a modified driveshaft, a crossmember, cooling lines, and a compatible TCM for operation.
Transmission Selection (New, Used, Rebuilt)
Choosing the right 4L60E begins with deciding between new, used, or rebuilt options, each presenting unique advantages and drawbacks. A new transmission offers peak reliability and often comes with a warranty, but represents the highest upfront cost – potentially exceeding $2,000. Used transmissions are the most affordable, often found for under $800, but carry inherent risk due to unknown history and potential wear. Thorough inspection is crucial.
A rebuilt 4L60E strikes a balance, typically costing between $1,200 and $1,800. Reputable rebuilders replace worn components with new or remanufactured parts, offering improved reliability over a used unit, and often include a limited warranty. Consider the intended use; a stock rebuild suffices for mild applications, while performance builds necessitate upgraded clutches, steels, and potentially a hardened input shaft to handle increased power. Prioritize a transmission sourced from a reputable supplier, ensuring quality and support.
Torque Converter Considerations
The torque converter is a critical component, directly impacting performance and drivability during a 4L60E swap. Stall speed is paramount; a lower stall (around 2000-2400 RPM) suits street applications, providing good low-end torque and smooth engagement. Higher stall speeds (2800-3200+ RPM) are favored for performance builds, enhancing off-the-line acceleration but potentially sacrificing some street manners.
Converter selection must align with the engine’s power band. Ensure compatibility with the 4L60E’s input spline and the engine’s crankshaft flange. Lock-up converters are highly recommended for highway cruising, improving fuel efficiency. Consider a quality brand known for durability and precise stall characteristics. Improper converter selection can lead to poor performance, excessive heat, and premature transmission failure, so careful consideration is vital for a successful swap.
Crossmember and Mounts
A robust crossmember is essential for securely supporting the 4L60E transmission during a swap. Often, the original crossmember won’t fit, necessitating an aftermarket solution specifically designed for the 4L60E in your vehicle. These are available from various manufacturers, offering different designs and mounting points.
Transmission mounts are equally crucial, providing a vibration-dampening connection between the transmission and the crossmember. Ensure the mounts are compatible with both the transmission and the crossmember. Polyurethane mounts offer increased stiffness for improved handling, while rubber mounts provide a more comfortable ride. Proper alignment is vital to prevent stress on the transmission and driveline. Incorrect mounting can lead to premature wear and potential failure, so precise fitment is paramount.
Driveshaft Modifications
After installing the 4L60E, driveshaft modifications are almost always required due to the change in transmission length; The original driveshaft likely won’t be the correct length, potentially causing vibrations or driveline damage. Measuring the distance between the transmission output shaft and the differential yoke is the first step.
You’ll likely need to have a driveshaft shortened or lengthened by a professional driveshaft shop. They can also ensure the driveshaft is properly balanced to minimize vibrations. Inspect the U-joints for wear and replace them if necessary. Consider upgrading to stronger U-joints if you plan on increased power or heavy towing. Correct driveshaft angle is also critical for smooth operation and longevity; adjustments may be needed.
Cooling Lines and Cooler
The 4L60E transmission generates significant heat, making a proper cooling system essential for its longevity. You’ll need to connect cooling lines from the transmission to a cooler, which can be either a standalone cooler or one integrated into the radiator. Existing cooler lines may not fit, requiring new lines to be fabricated or purchased.
Ensure the lines are the correct size and material (typically -6AN or -8AN) and routed safely away from exhaust components. A dedicated transmission cooler is highly recommended, especially for trucks used for towing or frequent off-road driving. Consider an electric fan on the cooler for increased cooling efficiency at low speeds. Proper fluid flow is vital; verify there are no kinks or restrictions in the lines.

Installation Process
The installation involves removing the original transmission, preparing the vehicle, carefully installing the 4L60E, and ensuring proper alignment with the engine and driveshaft.
Removing the Old Transmission
Before beginning, disconnect the battery to prevent electrical shorts. Drain the existing transmission fluid completely, using a suitable pan to catch it for proper disposal. Disconnect the driveshaft, ensuring you mark the orientation for reinstallation. Detach all linkages – shift, throttle, and any electrical connectors attached to the transmission.
Support the engine from above to prevent it from tilting or falling when the transmission is removed. Remove the crossmember that secures the transmission to the vehicle’s frame. Using a transmission jack, carefully lower and remove the old transmission, taking care not to damage any surrounding components; Inspect the flexplate for any damage during removal, and address it if necessary. This careful process sets the stage for a smooth 4L60E installation.
Installing the 4L60E Transmission
With the old transmission removed, prepare the 4L60E for installation. Carefully position the new transmission using a transmission jack, aligning it with the engine’s flexplate. Gently push the transmission into place, ensuring the input shaft fully engages with the torque converter. Secure the transmission to the engine using the appropriate bolts, tightening them to the manufacturer’s specified torque.
Reinstall the crossmember, ensuring it properly supports the transmission. Connect the driveshaft, verifying the marked orientation from removal. Reattach all shift linkages and electrical connectors, double-checking for secure connections. Finally, install the cooling lines, connecting them to the transmission cooler. This methodical approach ensures a secure and functional installation of the 4L60E.
Electronics and Wiring
Proper electronic control is vital; a Transmission Control Module (TCM) manages the 4L60E, requiring careful wiring harness integration for seamless operation.

Transmission Control Module (TCM)
The 4L60E is electronically controlled, meaning a Transmission Control Module (TCM) is absolutely essential for proper function. Unlike older transmissions, it doesn’t rely on mechanical linkages for shifting; instead, the TCM interprets signals from various sensors – vehicle speed, throttle position, engine load – and commands the transmission to shift accordingly.
When performing a swap, you have several TCM options. You can utilize a standalone TCM, which is a self-contained unit specifically programmed for the 4L60E. Alternatively, many swaps integrate the TCM with the vehicle’s existing engine control unit (ECU), requiring reprogramming or a compatible combination of both. Choosing the right TCM depends on your vehicle’s existing electronics and your desired level of control and customization. Proper programming is crucial to ensure smooth and accurate shifting tailored to your specific engine and drivetrain combination.
Wiring Harness Integration
Successfully integrating the 4L60E’s wiring harness is a critical step, demanding careful attention to detail. The transmission requires connections for power, ground, speed sensors, shift solenoids, and potentially a torque converter clutch (TCC) control circuit. You’ll need to either modify your existing vehicle’s harness or utilize a dedicated 4L60E swap harness, designed to simplify the process.
A swap harness typically provides labeled connectors and pre-wired circuits, minimizing the need for extensive splicing. However, verifying pinouts and ensuring proper connections to the TCM and ECU is paramount. Incorrect wiring can lead to erratic shifting, diagnostic trouble codes, or even transmission damage. Thoroughly review wiring diagrams and double-check all connections before powering up the system. Consider professional assistance if you’re uncomfortable with automotive electrical work.

Post-Swap Considerations
After the swap, proper fluid changes are essential, alongside thorough testing and troubleshooting to ensure optimal performance and address any potential issues promptly.
Fluid Type and Changes

Selecting the correct fluid is paramount for 4L60E longevity. Dexron VI is generally recommended for most applications, offering superior performance and compatibility compared to older Dexron formulations. Initial fluid changes are crucial after the swap; the first change should occur within the first 500 miles to remove any debris from the installation process.
Subsequently, follow a regular maintenance schedule – typically every 30,000 miles or two years, whichever comes first. Consider adding a friction modifier additive, especially if experiencing shuddering or harsh shifts. Regularly check the fluid level and condition; dark or burnt-smelling fluid indicates potential issues requiring immediate attention. Proper fluid maintenance significantly extends the transmission’s lifespan and ensures smooth operation, especially under demanding conditions like towing or off-roading.
Testing and Troubleshooting
Post-swap testing should begin with a thorough check of all fluid levels and connections, ensuring no leaks are present. Initiate a slow, controlled drive, monitoring for smooth engagement and proper shifting through all gears. Pay close attention to any unusual noises or vibrations. Diagnostic tools can be invaluable for reading transmission codes, revealing potential issues with solenoids, sensors, or the TCM.
Common problems include harsh shifting, slippage, or failure to shift at all. Troubleshooting often involves checking wiring connections, verifying TCM functionality, and inspecting the torque converter. If shuddering occurs, a friction modifier additive might help. Persistent issues may necessitate professional diagnosis and repair, potentially involving solenoid replacement or transmission rebuild. Careful observation and systematic troubleshooting are key to a successful swap.